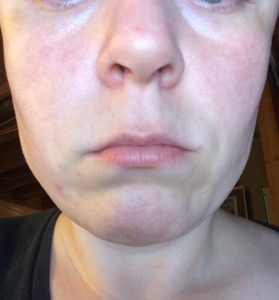
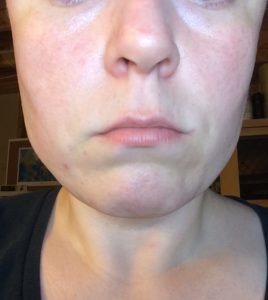
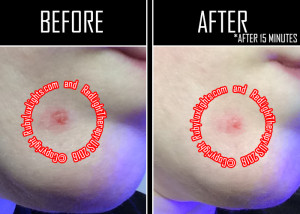
Does infrared light therapy work? It’s a question I hear all the time. The short answer is, yes, it really does work. Lately, my face has been living proof!
In short, I’ve been using near infrared light repeatedly for many months, favoring the right side. Now you can see a noticeable difference between the left and right sides of my face. This isn’t a perfect “infrared light therapy before & after photo”-scenario. It’s not like I withheld all infrared light from my left side. I just tended to use it on my right side more. I’ve been using the bulb on both sides of my head (but I have not often used it full-on in my face) on a daily basis for at least a year. My point is, I’ve had repeated exposure over a long period of time, but the target of that exposure was the side of my head. The light hitting my face and causing changes there was incidental. I am sure that if I had focused the light more on the front of my face, it would’ve made a bigger impact.
A little background on me: I am a 36-year-old former smoker who has had multiple sunburns (sun damage) and had Lyme disease for several years. Smoking and sun damage are well-known to promote aging in the skin. Lyme disease destroys collagen
I use the RubyLux NIR-A Near Infrared Bulb every day to improve blood flow to my brain. I find it helps me with concentration and my mood. For whatever reason, it seems to work slightly better when I use it on the right side of my head. So I tend to favor the right side and now there is a visible difference between the left and right sides of my face.
Most of the time, when I am using the bulb, I’ve got it pointed more towards my ear or another part of my head, not centered on my face. Of course, light still gets on my face and I believe that is what has caused this difference in symmetry. Before, my face was symmetrical.
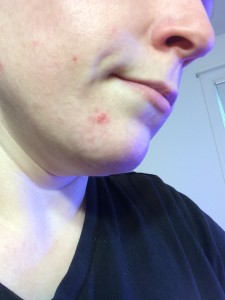
Below is an infrared light therapy before & after photo…in one photo! I took this pic without makeup, with the photo lighting centered on my face (I was trying to avoid the light’s shadows altering the picture). Personally, I can tell more of a difference between the right and left sides of my face when I stand back a bit and look at it.
What I have noticed is that on my right side (which appears on the left in the picture) my tear trough circle around my eye is less defined, as are my nasolabial fold lines. The right side is plumper and firmer, while the left side sags slightly more. I have the beginnings of marionette lines, but those are only visible on the left side.
Obviously, there are more dramatic infrared light therapy before & after photos out there. When I noticed this difference, though, I thought maybe others would be interested to see it. I am now in the process of evening up both sides of my face, so I believe the asymmetry will be corrected in time.
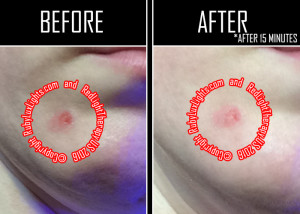
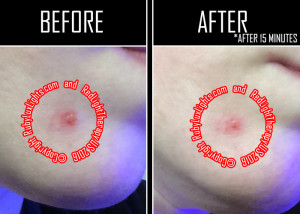
Oh, and just for fun, I’ve inserted another infrared light therapy before & after photo below.
